Are you tired of your favorite mug sitting sad and unused because of a broken handle? Don’t worry, fixing it is easier than you think. In this article, we will guide you through the step-by-step process of repairing your broken mug handle, so you can enjoy your morning coffee again. Let’s get started!
Understanding the Damage
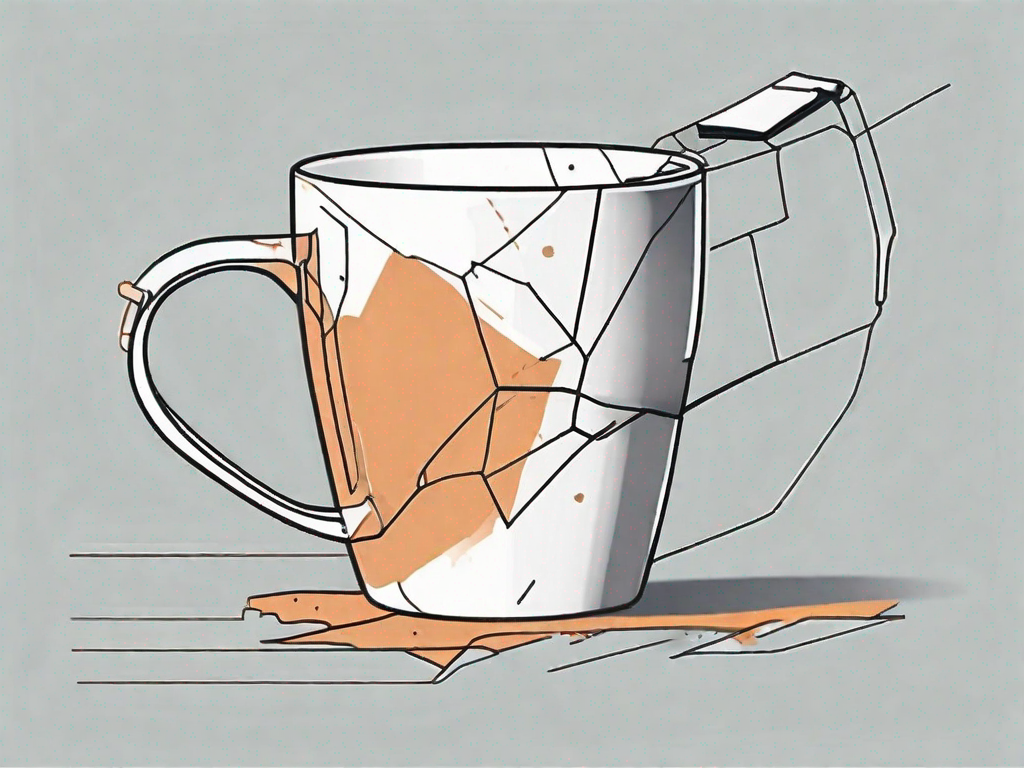
Before diving into the repair process, it’s important to understand the extent of the damage. Assessing the break will help you determine the best course of action for fixing your mug handle. Take a close look at the broken pieces and identify any missing or chipped parts.
When assessing the break, it’s crucial to examine the damage from all angles. Look for any cracks or fractures that may not be immediately visible. Sometimes, a small chip or hairline crack can lead to further damage if not addressed properly.
Additionally, consider the location of the break. Is it near the top of the handle where it is more likely to be pulled or twisted? Or is it closer to the base where the handle is more likely to experience pressure from the weight of the mug when lifted?
Assessing the Break
Examine the break carefully to determine whether it’s a clean break or if there are any jagged edges. This will affect the type of adhesive you use and how you position the handle for repair.
If the break is clean and the pieces fit together neatly, you may be able to simply use a strong adhesive to bond them back together. However, if there are jagged edges or multiple pieces, you may need to consider a more intricate repair process.
It’s important to note that a clean break doesn’t necessarily mean the repair will be easier. Sometimes, the alignment of the pieces can be challenging, requiring patience and precision to ensure a seamless repair.
Identifying the Type of Material
Mug handles can be made from various materials such as ceramic, porcelain, or glass. Knowing the type of material your mug is made of will help you choose the appropriate adhesive and ensure a successful repair.
If your mug handle is made of ceramic, you’ll want to use an adhesive specifically designed for ceramic repairs. These adhesives are formulated to withstand high temperatures, ensuring that your repaired handle can withstand the heat of hot beverages.
On the other hand, if your mug handle is made of porcelain or glass, you’ll need to use an adhesive that is suitable for these materials. These adhesives often have a clear or translucent finish, ensuring that the repair is not easily noticeable.
Identifying the type of material is also important for understanding the durability of the repair. While ceramic and porcelain handles can be quite sturdy when properly repaired, glass handles may require more delicate handling to prevent further damage.
Gathering the Necessary Tools
Now that you have a clear understanding of the damage, it’s time to gather the tools you’ll need for the repair. Here are the essential supplies:
Choosing the Right Adhesive
Not all adhesives are created equal. When it comes to fixing your mug handle, you’ll need a strong and durable adhesive that can withstand hot liquids. Look for an adhesive specifically designed for repairing ceramics or glass.
One popular option is a two-part epoxy adhesive. This type of adhesive consists of a resin and a hardener that, when mixed together, create a strong bond. It’s important to follow the manufacturer’s instructions for mixing and applying the epoxy adhesive to ensure a successful repair.
Another option is a cyanoacrylate adhesive, commonly known as super glue. This adhesive is known for its fast-drying and strong bonding properties. However, it may not be suitable for all materials, so make sure to check if it is recommended for ceramics or glass.
Other Essential Supplies
In addition to the adhesive, you’ll also need some cotton swabs, rubbing alcohol, a clean cloth, masking tape, and a disposable mixing surface. These supplies will help you clean the broken pieces and ensure a smooth repair process.
Before applying the adhesive, it’s important to clean the broken pieces thoroughly. Use a cotton swab soaked in rubbing alcohol to remove any dirt, grease, or residue from the surfaces that need to be bonded. This will help create a stronger bond and ensure a successful repair.
Once the surfaces are clean, use a clean cloth to dry them completely. Moisture can interfere with the adhesive’s bonding properties, so it’s crucial to ensure the surfaces are dry before proceeding with the repair.
Masking tape can be used to hold the broken pieces in place while the adhesive cures. This will help maintain the alignment and prevent any shifting or movement that could compromise the repair. Simply apply strips of masking tape across the broken area, making sure to secure all the pieces together.
Lastly, having a disposable mixing surface is essential when working with two-part epoxy adhesive. This can be a piece of cardboard or a plastic sheet that you can discard after use. Mixing the epoxy adhesive on a disposable surface will prevent any contamination and ensure the adhesive cures properly.
Preparing for the Repair
Now that you have all the necessary tools, it’s time to prepare for the repair. Follow these steps to ensure everything is set up correctly:
Repairing a broken mug handle requires attention to detail and careful preparation. The success of the repair depends on how well you clean the broken pieces and set up your work area.
Cleaning the Broken Pieces
Before applying any adhesive, it’s crucial to clean the broken pieces thoroughly. This step is often overlooked but is essential for a strong and lasting bond. Use a cotton swab dipped in rubbing alcohol to remove any dirt, grease, or residue that might affect the bonding process.
Take your time and be thorough in cleaning both the handle and the main body of the mug. Pay close attention to any cracks or crevices where dirt might be hiding. By ensuring a clean surface, you are creating the optimal conditions for the adhesive to work effectively.
Setting Up Your Work Area
Find a clean and well-lit area to work on your mug handle repair. It’s important to have enough space to maneuver the broken pieces and apply the adhesive without any hindrance. A clutter-free workspace will help you focus on the task at hand and minimize the chances of accidents or mistakes.
Place a disposable mixing surface, such as a piece of cardboard or a plastic sheet, to avoid any adhesive spills on your working surface. This will protect your table or countertop from any potential damage and make the cleanup process much easier.
Ensure that you have all the necessary tools and materials within reach. This includes the adhesive, any clamps or supports you may need, and a clean cloth or paper towels for wiping away excess adhesive. Having everything organized and readily available will save you time and frustration during the repair process.
By taking the time to properly clean the broken pieces and setting up your work area, you are setting yourself up for a successful mug handle repair. These initial steps may seem simple, but they are crucial in ensuring a strong and durable bond between the handle and the mug. So, pay attention to detail and create the optimal conditions for a successful repair.
The Repair Process
Repairing a broken mug handle can be a simple and satisfying task. By following these steps, you can restore your mug to its former glory:
Assessing the Damage
Before beginning the repair process, take a moment to examine the broken pieces of the mug handle. Understanding the extent of the damage will help you determine the best course of action. Are there any additional cracks or chips that need attention? Take note of any missing fragments that may need to be replaced.
Gathering the Materials
Now that you have assessed the damage, gather all the necessary materials for the repair. In addition to the adhesive, you may need a cotton swab or a toothpick for precise application. It’s also a good idea to have some masking tape on hand to secure the handle in place while it dries.
Applying the Adhesive
With your materials ready, it’s time to apply the adhesive. Take a small amount of adhesive on your cotton swab or toothpick and carefully spread it onto one of the broken pieces. Be mindful not to use too much adhesive, as it can create a messy repair and compromise the aesthetics of your mug.
As you apply the adhesive, consider the type of adhesive you are using. Different adhesives have varying drying times and bonding strengths. Choose an adhesive that is suitable for ceramic or porcelain materials and follow the product’s instructions for the best results.
Attaching the Handle
Once the adhesive is applied, gently align the broken pieces of the handle and press them together. Take your time to ensure a precise fit. Applying even pressure, hold the pieces in place for a few minutes. This will allow the adhesive to bond and create a strong connection between the broken parts.
If you find that the handle is not staying in place, consider using masking tape to secure it. Carefully wrap the tape around the handle, applying enough pressure to hold it firmly against the mug. This will provide additional support while the adhesive dries.
Ensuring a Secure Bond
After attaching the handle, it’s important to give the adhesive enough time to cure. Refer to the product’s instructions for the recommended drying time. Avoid using the mug until the adhesive has fully dried and cured, as this could compromise the bond and result in a weaker repair.
During the curing process, it’s essential to handle the mug with care. Avoid placing any unnecessary stress on the repaired handle, as this could weaken the bond. Once the adhesive has fully cured, your mug will be ready to use again.
Remember, repairing a broken mug handle is not only a practical solution but also a way to preserve sentimental or cherished items. With a little patience and attention to detail, you can extend the lifespan of your favorite mug and continue enjoying your morning coffee or tea.
Post-Repair Care
Now that your mug handle is back in one piece, it’s essential to take proper care to prolong its lifespan. Follow these tips for long-term maintenance:
Drying and Curing Time
Allow your repaired mug handle to dry and cure for at least 24 hours before using it. This will give the adhesive enough time to reach its maximum strength.
Cleaning the Repaired Mug
When cleaning your mug, avoid using abrasive materials or harsh detergents that can weaken the adhesive bond. Instead, opt for a gentle dish soap and a soft sponge. Handwashing is recommended to ensure the longevity of the repair.
Tips for Long-term Maintenance
To prevent further damage to your repaired mug handle, avoid excessive force or dropping it onto hard surfaces. Treat it with care and enjoy your favorite beverages for years to come.
Now you know how to fix a broken mug handle! With the right tools and a little patience, you can bring your beloved mug back to life. Remember to follow the steps carefully and take the necessary precautions to ensure a successful repair.