LED light strips have become incredibly popular in recent years due to their versatility and energy efficiency. However, like any electronic device, they can experience issues from time to time. In this comprehensive guide, we will walk you through the process of repairing a broken LED light strip, enabling you to save money and extend the lifespan of your lighting investment.
Understanding the Basics of LED Light Strips
Before delving into the repair process, it is important to have a solid understanding of what LED light strips are and how they work. LED, short for light-emitting diode, is a semiconductor device that emits light when an electric current passes through it. LED light strips are flexible circuit boards populated with numerous tiny LEDs. They are typically used for decorative purposes or as task lighting.
LED light strips have become increasingly popular in recent years due to their versatility and energy efficiency. They offer a wide range of colors and brightness levels, making them suitable for various applications. Whether you want to create ambient lighting in your living room or add a touch of color to your outdoor patio, LED light strips can help you achieve the desired effect.
What is an LED Light Strip?
An LED light strip is a flexible strip that contains multiple LEDs attached to a thin, flexible circuit board. These strips allow for easy installation and can be cut to desired lengths at designated cut points. The flexibility of LED light strips makes them ideal for illuminating curved surfaces or hard-to-reach areas.
LED light strips are available in different types, including single-color, multi-color, and RGB (Red, Green, Blue) strips. Single-color strips emit a uniform color throughout, while multi-color and RGB strips offer the ability to change colors and create dynamic lighting effects. Some LED light strips even come with remote controls or smartphone apps, allowing you to adjust the color, brightness, and lighting patterns with ease.
Common Issues with LED Light Strips
While LED light strips are designed to be durable and long-lasting, they can still encounter problems. Some common issues include:
- Dimmed or flickering lights: This can occur due to a loose connection or a faulty LED.
- Uneven brightness along the strip: Uneven brightness can be caused by a damaged LED or an issue with the power supply.
- Dead LEDs or sections of the strip: Over time, individual LEDs may fail, resulting in dead spots along the strip.
- Loose connections: If the connections between the LED strip and the power supply are not secure, the lights may not function properly.
These issues can be caused by a variety of factors, including manufacturing defects, improper handling, or normal wear and tear. Fortunately, most problems with LED light strips can be resolved with a few simple steps.
If you encounter dimmed or flickering lights, checking the connections between the LED strip and the power supply is a good first step. Ensure that the wires are securely connected and that there are no loose or damaged components. If the issue persists, it may be necessary to replace the faulty LED or the entire section of the strip.
Uneven brightness along the strip can often be fixed by adjusting the power supply or replacing any damaged LEDs. It is important to use the correct voltage and wattage for your LED light strip to prevent any potential issues.
Dead LEDs or sections of the strip can be replaced by carefully removing the damaged components and soldering new ones in their place. It is crucial to follow the manufacturer’s instructions and handle the LED strip with care to avoid further damage.
Loose connections can be resolved by ensuring that the wires are properly secured and that there is a solid connection between the LED strip and the power supply. Using connectors or soldering the wires together can help create a more reliable connection.
By understanding the basics of LED light strips and common issues that may arise, you can confidently troubleshoot and repair any problems that occur. With proper maintenance and care, LED light strips can provide long-lasting and vibrant lighting for your various projects and applications.
Tools Needed for Repairing LED Light Strips
Before you begin the repair process, it’s important to gather the necessary tools. Having the right tools on hand will make the job easier and help ensure a successful repair.
Repairing LED light strips can be a rewarding task, allowing you to bring back the vibrant glow to your lighting fixtures. Whether you are fixing a single LED or an entire strip, having the essential tools will enable you to tackle the repair with confidence.
Essential Tools for the Job
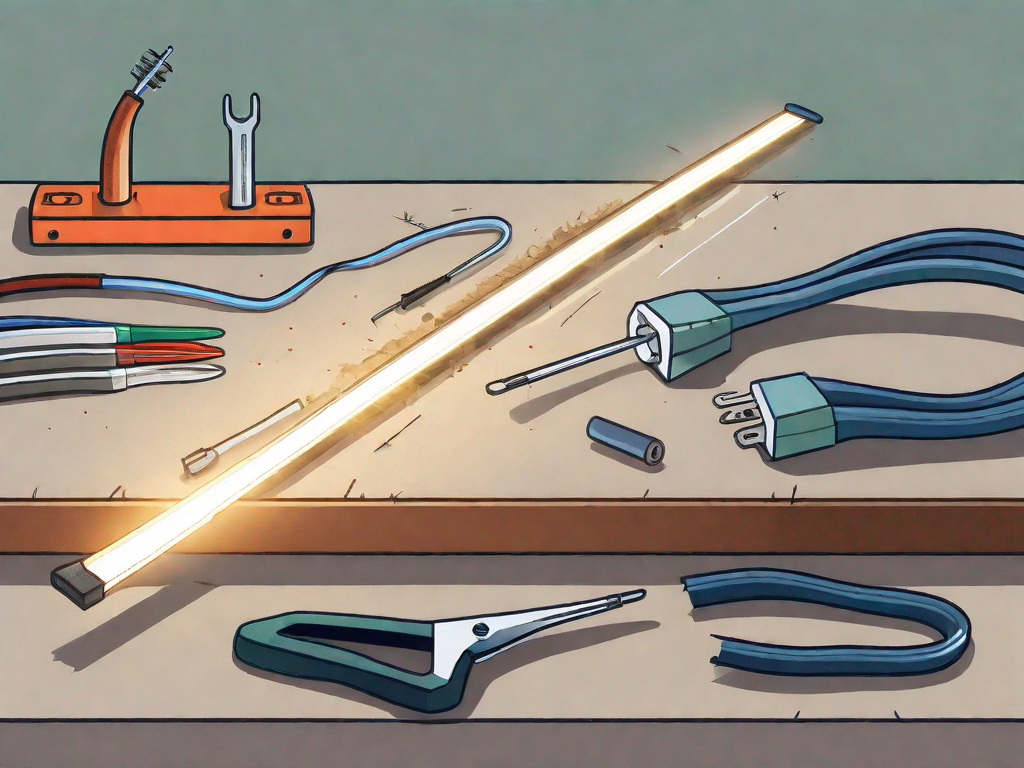
Here are some essential tools you will need:
- Soldering iron and solder
- Wire strippers
- Multimeter
- Heat shrink tubing
- Electrical tape
Let’s take a closer look at each of these tools:
- Soldering iron and solder: These tools are essential for reattaching loose or broken connections. The soldering iron heats up the solder, allowing you to create a strong bond between the wires and the LED strip.
- Wire strippers: To ensure a clean and secure connection, wire strippers are used to remove the insulation from the wires. This allows for a better flow of electricity and prevents any potential short circuits.
- Multimeter: A multimeter is a versatile tool that helps you diagnose and troubleshoot electrical problems. It can measure voltage, current, and resistance, allowing you to identify any issues with the LED strip.
- Heat shrink tubing: Heat shrink tubing is used to protect and insulate the repaired connections. By applying heat, the tubing shrinks and forms a tight seal around the soldered joint, providing added durability and protection against moisture and other environmental factors.
- Electrical tape: Electrical tape is another option for insulating and securing connections. It provides a layer of protection against electrical shock and helps keep the wires in place.
Safety Equipment for Handling LED Lights
Working with LED lights involves a certain level of risk, so it’s important to prioritize safety. Always wear safety goggles and gloves to protect your eyes and hands from potential hazards. Additionally, make sure to work in a well-ventilated area to avoid inhaling any fumes that may be emitted during the repair process.
When it comes to repairing LED light strips, having the right tools and safety equipment is crucial. By following proper safety precautions and using the necessary tools, you can confidently embark on your repair journey and bring back the brilliance of your LED lights.
Step-by-Step Guide to Fixing a Broken LED Light Strip
Now that you have the necessary tools and safety equipment, it’s time to dive into the repair process. Follow these steps to effectively fix your broken LED light strip:
Identifying the Problem
The first step in repairing a broken LED light strip is to identify the root cause of the issue. This can often be done by visually inspecting the strip and checking for any obvious signs of damage, such as loose wires or burnt-out LEDs.
If the problem is not immediately visible, you can use a multimeter to test the conductivity of the strip. This will help you pinpoint any areas that may be causing a disruption in the electrical flow.
Once you have identified the problem, you can proceed with the repair process. However, it’s important to note that not all LED light strip issues are fixable. In some cases, it may be more cost-effective to replace the entire strip rather than attempting to repair it.
Now, let’s move on to the next step.
Preparing for the Repair
Once you have identified the problem, it’s time to prepare for the repair. Begin by gathering the necessary materials, such as replacement LEDs and soldering equipment. Make sure to have a clean, well-lit workspace to work in, as this will make the repair process more efficient.
Before proceeding, it’s important to disconnect the power source to avoid any electrical accidents. This can typically be done by unplugging the power adapter or flipping the circuit breaker.
Additionally, it’s a good idea to take some time to familiarize yourself with the LED light strip’s wiring diagram, if available. This will help you understand the strip’s circuitry and make the repair process easier.
Now that you are fully prepared, let’s move on to the next step.
Repairing the LED Light Strip
Now that you are prepared and ready to begin the repair, follow these steps:
- Cut out the damaged section of the LED light strip, making sure to leave enough space to attach replacement LEDs. Use a sharp pair of scissors or a utility knife for this task.
- Use wire strippers to remove a small amount of insulation from the ends of the strip and replacement LEDs. This will expose the bare wires, allowing for a proper connection.
- Solder the replacement LEDs onto the strip, ensuring that the polarity is correct. Polarity refers to the positive and negative terminals of the LEDs. It’s important to match the polarity of the replacement LEDs with the existing strip to avoid any issues.
- Protect the soldered connections by using heat shrink tubing or electrical tape. This will provide insulation and prevent any short circuits.
- Repeat this process for any other damaged sections of the LED light strip. Take your time and ensure that each connection is secure and properly insulated.
- Once all repairs are complete, reconnect the power source and test the strip to ensure it is working properly. If everything is functioning as expected, you have successfully repaired your LED light strip!
Remember, safety should always be a top priority when working with electrical components. If you are unsure about any step of the repair process, it’s best to consult a professional or seek assistance from someone with experience in LED light strip repairs.
With these detailed steps, you should now be well-equipped to fix your broken LED light strip. Good luck!
Troubleshooting Persistent Issues
In some cases, repairing a broken LED light strip may not solve the problem entirely. If you are encountering persistent issues despite your repair efforts, it may be time to seek professional help. A qualified technician will have the expertise and equipment to diagnose and fix more complex issues that may be beyond your scope of knowledge.
When to Seek Professional Help
If you have attempted to repair your LED light strip but are still experiencing problems such as flickering lights or uneven brightness, it’s best to consult a professional. They will be able to assess the situation and provide you with the most appropriate solution.
Maintenance Tips to Prevent Future Damage
While repairing a broken LED light strip is certainly a valuable skill, it is always better to prevent damage in the first place. Here are some maintenance tips to help you prolong the lifespan of your LED light strips:
- Handle the strips with care, avoiding rough handling or excessive bending.
- Regularly clean the strip and remove any dust or debris that may accumulate.
- Ensure proper ventilation to prevent overheating, as excessive heat can degrade the LEDs.
- Use the correct power supply and do not exceed the maximum load capacity of the strip.
Concluding Thoughts on LED Light Strip Repair
Repairing a broken LED light strip can be a cost-effective and rewarding DIY project. By following the steps outlined in this guide, you can confidently tackle common issues and restore your LED light strips to full functionality.
The Importance of Proper Handling
Remember, proper handling and maintenance are key to preventing future damage. By treating your LED light strips with care and following best practices, you can enjoy years of reliable and efficient lighting.
The Satisfaction of DIY Repair
Lastly, the satisfaction of successfully repairing your own LED light strip cannot be understated. Not only will you save money on professional repairs, but you will also gain valuable knowledge and skills that can be applied to other DIY projects.
So, don’t be intimidated by a broken LED light strip. With the right tools, safety precautions, and a little guidance, you can become a confident DIY repairer and keep your LED light strips shining brightly for years to come.