Electrical outlets are an essential component of any home’s electrical system. They provide power to various appliances and devices that we use on a daily basis. However, like any other electrical component, outlets can sometimes get damaged or blown. If you’re experiencing issues with an outlet in your home, don’t worry – you can fix it yourself! In this step-by-step guide, we will walk you through the process of fixing a blown outlet.
Understanding the Basics of Electrical Outlets
Electrical outlets play a crucial role in our daily lives, allowing us to power various devices that make our lives easier and more convenient. But have you ever wondered how these outlets actually work and what their role is in your home’s electrical system?
The Role of an Outlet in Your Home’s Electrical System
Before we dive into the repair process, it’s important to understand the role of an outlet in your home’s electrical system. An outlet is not just a simple socket where you plug in your devices; it is a gateway through which electrical energy is distributed to power various devices.
An outlet consists of two main components: a socket that plugs into an electrical device and an accompanying electrical receptacle, which is usually mounted on a wall. The electricity flows from the main power source through the outlet to power the connected device. It’s like a bridge that connects the power source to your devices, enabling them to function.
Understanding how an outlet works is essential because it helps us identify and address any issues that may arise. Now, let’s explore some common signs that indicate a blown outlet.
Common Signs of a Blown Outlet
Now that we know the role of an outlet, let’s take a closer look at some common signs that indicate a blown outlet. It’s important to be aware of these signs so that you can address any issues promptly and ensure the safety of your home and family.
- No power: If you plug in a device and it doesn’t receive any power, it’s a clear sign that something is wrong with the outlet. This could be due to a loose connection, a faulty wire, or a blown fuse.
- Sparks or smoke: If you see sparks or smoke coming from the outlet, it’s crucial to take immediate action. This could be an indication of a serious electrical problem, such as a short circuit or an overloaded circuit. In such cases, it’s essential to turn off the power to the outlet and proceed with caution.
- Burn marks: Burn marks around or inside the outlet are signs of electrical arcing, which can be dangerous and require immediate attention. Electrical arcing occurs when there is a faulty connection or a damaged wire, leading to the release of heat and potentially causing a fire hazard.
- Frequent tripping: If the circuit breaker trips frequently when you plug in a device, it could be due to a blown outlet. This could be caused by an overload on the circuit or a faulty outlet that needs to be repaired or replaced.
Identifying these signs is crucial for maintaining the safety and functionality of your electrical system. If you notice any of these signs, it’s recommended to seek professional help to assess and address the issue.
Remember, electrical outlets are not just simple sockets; they are integral components of your home’s electrical system. Understanding their role and being aware of potential issues can help you ensure the safety of your home and the longevity of your electrical devices.
Safety Precautions Before You Begin
When it comes to electrical repair work, safety should always be your top priority. Before you dive into fixing a blown outlet, there are a few essential tools you need to have on hand. These tools will not only make the repair process easier but also help ensure your safety throughout the job.
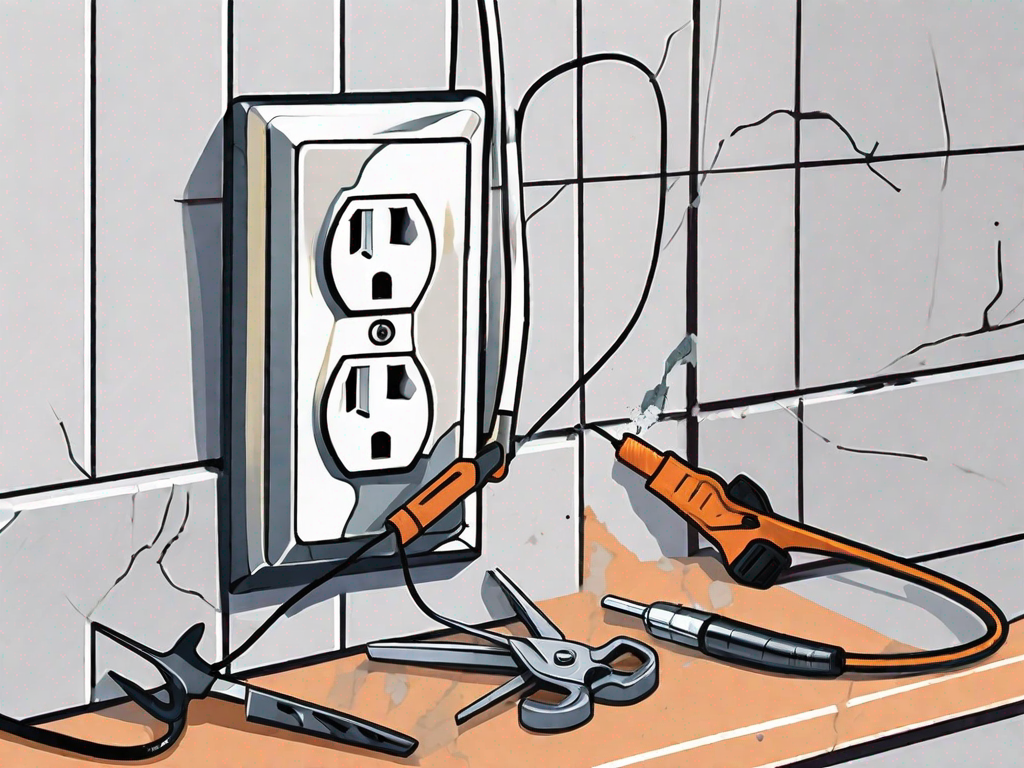
Essential Tools for Outlet Repair
Let’s take a closer look at the tools you’ll need:
- Voltage tester: This handy tool is crucial for determining whether the outlet has power or not. It allows you to safely check if the circuit is live before you start working on it.
- Screwdriver set: A set of screwdrivers is a must-have for any electrical repair job. You’ll need them to remove the outlet cover and screws, allowing you to access the wiring inside.
- Wire stripper: To properly repair the outlet, you’ll need to remove insulation from the wires. A wire stripper will help you do this with precision and ease.
- Wire nuts: These small connectors are essential for securing and connecting wires together. They ensure a reliable and safe electrical connection.
- Electrical tape: Electrical tape is a vital component for insulating and protecting exposed wires. It helps prevent any accidental contact with live wires, reducing the risk of electrical shocks.
Preparing Your Work Area
Now that you have all the necessary tools, it’s time to prepare your work area. Taking a few extra steps to ensure a safe and organized workspace will make your repair job much smoother.
- Turn off the power: Before you start any electrical work, locate the circuit breaker that controls the outlet and switch it off. However, simply flipping the switch is not enough. To be absolutely certain that the power is off, use a voltage tester to verify it.
- Gather necessary materials: Collect all the tools and materials you’ll need for the repair. Having everything within reach will save you time and prevent any unnecessary trips back and forth.
- Clean the area: It’s important to remove any dust or debris from around the outlet before you begin. This will prevent any particles from interfering with your work and ensure a clean and safe environment.
- Protective gear: Always prioritize your safety by wearing the appropriate protective gear. Safety glasses will shield your eyes from any potential flying debris, while gloves will protect your hands from sharp edges or accidental contact with live wires.
By following these safety precautions and properly preparing your work area, you’re setting yourself up for a successful and secure outlet repair. Remember, electrical work should only be performed by those with the necessary knowledge and skills. If you’re unsure or uncomfortable with any aspect of the repair, it’s best to consult a professional electrician.
Diagnosing the Problem
When faced with an electrical issue, it’s important to follow a systematic approach to identify and resolve the problem. This not only ensures your safety but also helps in effectively troubleshooting the issue. In this guide, we will walk you through the steps to diagnose and potentially repair a faulty outlet.
Checking for Power
The first step in diagnosing an outlet problem is to determine if it is receiving power. This is a crucial step as it helps you identify whether the issue lies with the outlet itself or with the electrical supply. To check for power, you will need a voltage tester, which is a handy tool for measuring the presence of electricity.
Begin by turning off the circuit breaker that controls the outlet you are working on. This step is essential to ensure your safety while testing for power. Once the circuit breaker is off, carefully insert the voltage tester into the outlet slots. If the tester lights up or beeps, it indicates that there is power flowing through the outlet. In this case, you should double-check the circuit breaker to ensure it is properly switched off.
On the other hand, if the voltage tester does not show any signs of power, you can proceed with the repair process. However, it’s important to exercise caution and follow proper safety procedures throughout.
Inspecting for Physical Damage
Now that you have determined that the outlet is not receiving power, the next step is to visually inspect it for any physical damage. This step is crucial as physical damage can often be the cause of electrical issues.
To begin, switch off the circuit breaker controlling the outlet to ensure your safety. Next, carefully remove the outlet cover using a screwdriver. Take your time and be gentle to avoid causing any further damage.
Once the cover is removed, visually examine the outlet for any signs of burn marks, loose wires, or other visible damage. Burn marks can indicate overheating, which could be a result of a faulty connection or excessive electrical load. Loose wires can cause intermittent power supply or even pose a safety hazard. It’s important to pay close attention to the condition of the outlet and its components.
If you notice any damage, it’s essential to proceed with caution and take appropriate measures to repair or replace the outlet. Depending on the severity of the damage, you may need to consult a professional electrician for further assistance.
Remember, electrical repairs can be dangerous if not done correctly, so it’s always recommended to prioritize your safety and seek professional help if needed.
Steps to Fix a Blown Outlet
Removing the Old Outlet
If you have determined that the outlet is indeed blown and needs replacement, follow these steps to remove the old outlet:
- Turn off the power: Double-check that the power is off by using a voltage tester.
- Remove the outlet cover: Unscrew the outlet cover and set it aside.
- Disconnect wires: Carefully detach the wires from the old outlet. Take note of their positions or take a picture to ensure proper reinstallation later.
- Remove the outlet from the box: Unscrew the outlet from the electrical box and gently pull it out.
Installing the New Outlet
Now that you have removed the old outlet, it’s time to install the new one. Follow these steps:
- Prepare the wires: Use a wire stripper to remove about 1/2 inch of insulation from the ends of the wires.
- Connect the wires: Attach the wires to the corresponding screws on the new outlet. Make sure they are secure and tight.
- Secure the outlet: Carefully insert the new outlet into the electrical box and screw it in place.
- Replace the outlet cover: Attach the outlet cover using the screws you previously removed.
Troubleshooting Persistent Issues
When to Consider Professional Help
While fixing a blown outlet is a relatively simple task, there are certain situations where professional help may be necessary. If you encounter any of the following issues, it’s best to reach out to a licensed electrician:
- Repeated blown outlets: If your outlets keep blowing frequently, there may be an underlying electrical problem that needs expert attention.
- Safety concerns: If you’re unsure about your ability to safely repair an outlet, it’s always better to err on the side of caution and seek professional help.
Maintaining Your Electrical Outlets
Once you have successfully fixed a blown outlet, it’s important to maintain the rest of your electrical outlets in good condition. Regularly inspect them for any signs of damage or wear, and address any issues promptly to prevent future problems.
By following this step-by-step guide, you can confidently fix a blown outlet in your home. However, always prioritize your safety and consult a professional if you’re unsure or encounter persistent issues. With proper care and maintenance, your electrical outlets will continue to provide power to your devices reliably and safely.