A bent ring can be a frustrating problem to have, especially if it’s a piece of jewelry that holds sentimental value. However, with a little bit of patience and the right tools, you can easily fix a bent ring yourself. In this step-by-step guide, we will walk you through the process of fixing a bent ring and restoring it to its original shape. Whether it’s a simple band or a ring with intricate gemstone settings, we’ve got you covered. So grab your tools and let’s get started!
Understanding the Anatomy of a Ring
Before we dive into the repair process, it’s important to have a basic understanding of the different parts that make up a ring. This knowledge will help you identify the damage and perform the necessary repairs in the right areas.
The Band
The band is the circular part of the ring that wraps around your finger. It is usually made of metal and provides the structure and support for the ring.
When it comes to the band, there are various factors to consider. The width of the band can vary, ranging from thin and delicate to wide and bold. Some bands are smooth and polished, while others may have intricate designs or patterns engraved on them. The choice of metal for the band can also vary, with popular options including gold, silver, platinum, and titanium. Each metal has its own unique properties, such as durability, color, and hypoallergenic qualities, which can affect the overall look and feel of the ring.
Additionally, the band may feature additional embellishments, such as diamonds or gemstones, which can add sparkle and elegance to the ring. These stones can be set directly into the band or placed in settings that are attached to the band.
The Setting
The setting refers to the part of the ring that holds the gemstone in place. There are various types of settings, each with its own unique characteristics and advantages.
One common type of setting is the prong setting, which uses small metal prongs to secure the gemstone in place. This type of setting allows for maximum exposure of the gemstone, allowing light to enter from all angles and enhance its brilliance. Another popular setting is the bezel setting, where a metal rim surrounds the gemstone, holding it securely in place. This setting offers excellent protection for the gemstone and can create a sleek and modern look.
Other types of settings include channel settings, where gemstones are set in a row between two metal channels, and pave settings, where small gemstones are set closely together to create a continuous sparkle. Each setting style has its own unique aesthetic and practical considerations, and the choice of setting can greatly impact the overall look and durability of the ring.
The Gemstone
The gemstone is the focal point of many rings. It can be a diamond, a precious gemstone, or a birthstone, depending on the design of the ring.
When it comes to gemstones, there is a wide variety to choose from. Diamonds are the most popular choice for engagement rings, known for their exceptional brilliance and durability. Precious gemstones, such as sapphires, rubies, and emeralds, are also highly sought after for their vibrant colors and symbolic meanings. Birthstones, which vary depending on the month of birth, are often incorporated into rings as a personal and meaningful touch.
Each gemstone has its own unique properties, such as hardness, color, and clarity, which can affect its value and durability. It’s important to consider these factors when selecting a gemstone for a ring, as they can impact its long-term wearability and maintenance requirements.
Identifying the Damage
Before you can fix a bent ring, you need to assess the extent of the damage and identify the areas that need repair. Here’s how you can do that:
When it comes to jewelry, accidents happen. Whether it’s a result of everyday wear and tear or an unfortunate mishap, a bent ring can be a cause for concern. However, before you rush to the jeweler or attempt to fix it yourself, it’s important to take the time to properly assess the damage.
Assessing the Bend
Take a close look at the ring and determine where the bend is located. Is it in the band or in the setting? Understanding the specific area that is bent will help you focus your repair efforts. If the bend is in the band, it may be a relatively simple fix. However, if the bend is in the setting, it could require more intricate repairs to ensure the gemstones are secure.
Examining the bend closely can also give you clues as to how the damage occurred. Was it a result of accidentally hitting the ring against a hard surface, or did it happen while performing a physical activity? Understanding the cause of the bend can help prevent future damage.
Checking for Additional Damage
While examining the ring for the bend, also check for any other damage that may have occurred. Look for loose gemstones, weakened prongs, or any signs of wear and tear that may need attention. Sometimes, a bend in the ring can be a symptom of a larger issue, so it’s important to thoroughly inspect the entire piece.
Inspecting the prongs is particularly crucial, as they play a vital role in holding gemstones securely in place. If any of the prongs are loose or damaged, it can increase the risk of losing a stone. Additionally, inspecting the band for signs of wear and tear, such as thinning or discoloration, can help you determine if any other repairs are necessary.
It’s also worth checking the overall condition of the ring. Are there any scratches or dents that need to be addressed? Taking note of these details will ensure that you don’t overlook any potential issues during the repair process.
By thoroughly assessing the bend and checking for additional damage, you’ll have a clearer understanding of the repairs needed to restore your bent ring to its former glory. Remember, it’s always best to consult with a professional jeweler if you’re unsure about any aspect of the repair process.
Gathering the Necessary Tools
Now that you know what needs to be repaired, it’s time to gather the tools you’ll need for the job. Here are the essential tools you’ll need:
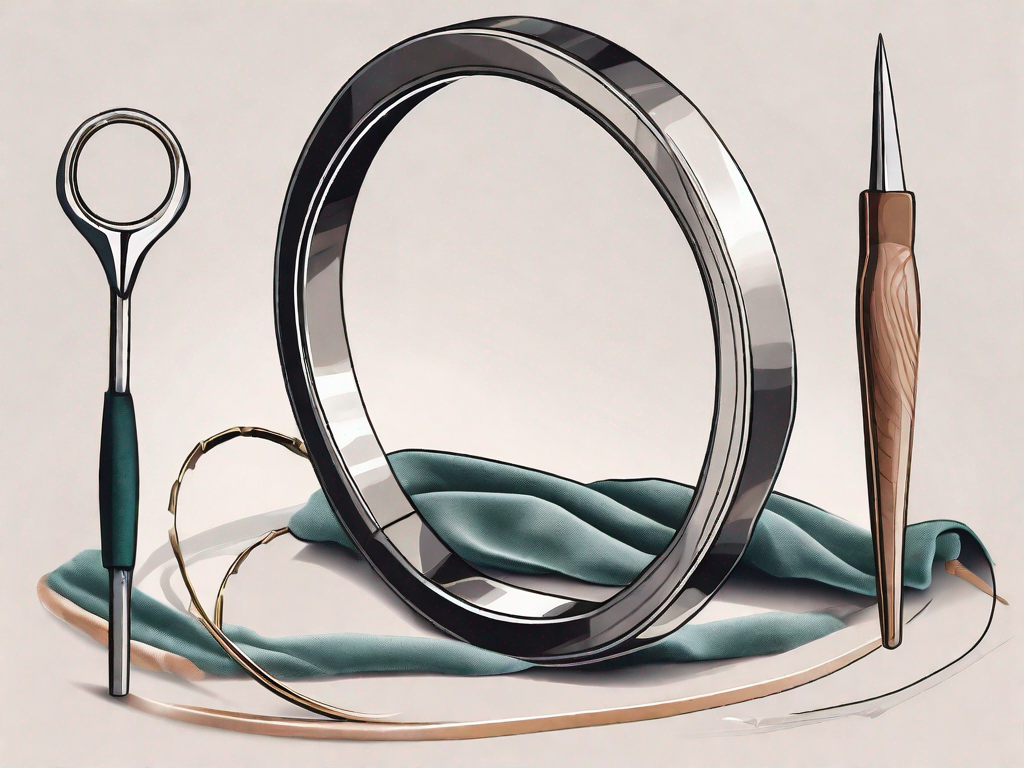
Ring Mandrel
A ring mandrel is a cylindrical tool that is used to shape and resize rings. It will be essential for straightening the band and restoring it to its original shape.
When selecting a ring mandrel, it’s important to choose one that is made of a durable material, such as steel or aluminum. This will ensure that it can withstand the pressure applied during the reshaping process. Additionally, look for a mandrel that has clear markings for different ring sizes, as this will help you accurately resize the band.
Before using the ring mandrel, it’s a good idea to clean it thoroughly to remove any dirt or debris that could scratch the ring. You can use a soft cloth or a mild jewelry cleaner to do this. Once the mandrel is clean, you’re ready to begin reshaping the ring.
Rawhide Mallet
A rawhide mallet is a non-metal hammer that is gentle on the metal jewelry. It will be used in conjunction with the ring mandrel to reshape the band without causing any damage.
Rawhide mallets are made from rawhide, which is a material derived from the hide of animals. The rawhide is shaped into a hammer head and attached to a wooden handle. The softness of the rawhide ensures that it won’t leave any marks or scratches on the ring while reshaping it.
When using a rawhide mallet, it’s important to apply even pressure and use gentle, controlled strikes. This will help you gradually reshape the ring without causing any unnecessary stress on the metal. Remember to take your time and make small adjustments as needed until the ring is back in its original shape.
Jeweler’s Cloth
A jeweler’s cloth is a soft cloth that is specifically designed for polishing and cleaning jewelry. It will come in handy during the repair process to remove any dirt or tarnish from the ring.
When choosing a jeweler’s cloth, look for one that is made of a lint-free material, such as microfiber or flannel. These materials are gentle on the metal and won’t leave any fibers behind. Additionally, some jeweler’s cloths are treated with a special polishing compound that can help restore the shine and luster of the ring.
To clean the ring using a jeweler’s cloth, simply rub the cloth gently over the surface of the metal. Pay special attention to any areas that are tarnished or dirty. The cloth will help remove any dirt or residue, leaving the ring looking clean and polished.
Preparing for the Repair
Before you start the actual repair, there are a few steps you should take to prepare the ring:
Repairing a beloved piece of jewelry can be a delicate and intricate process. Whether it’s a family heirloom or a sentimental gift, taking the time to properly prepare the ring before beginning the repair is crucial. By following these steps, you can ensure that the repair process goes smoothly and that your precious ring is restored to its former glory.
Cleaning the Ring
One of the first steps in preparing the ring for repair is to clean it thoroughly. Over time, dirt, grime, and oils can accumulate on the surface of the ring, making it difficult to assess the damage and work on it effectively. To clean the ring, you can use a jeweler’s cloth, which is specifically designed to gently remove dirt and restore shine to jewelry.
Take the jeweler’s cloth and carefully wipe the surface of the ring, paying close attention to any crevices or intricate details. By removing any dirt or grime, you will not only have a clearer view of the damage but also ensure that the repair process is carried out on a clean surface.
Positioning the Ring on the Mandrel
Once the ring is clean, the next step is to position it securely on a ring mandrel. A ring mandrel is a cylindrical tool made of metal or wood that is used to measure, shape, and repair rings. By placing the ring on the mandrel, you create a stable base for your repair work.
When positioning the ring on the mandrel, ensure that it fits securely and snugly. This will prevent any unnecessary movement during the repair process and allow you to exert pressure on the band to straighten it, if needed. The stability provided by the mandrel will make it easier for you to work on the ring and achieve the desired results.
Remember, preparing the ring before starting the repair is essential for a successful outcome. By cleaning the ring and positioning it securely on the mandrel, you are setting the stage for a smooth and effective repair process. So take your time, be meticulous, and get ready to restore your precious ring to its former beauty.
The Repair Process
Now that the ring is prepped and you have all your tools ready, it’s time to begin the actual repair process. Follow these steps to fix a bent ring:
Straightening the Band
Using the rawhide mallet, gently tap the bent area of the band while it is still on the ring mandrel. Gradually work your way around the entire circumference of the ring, exerting gentle pressure to straighten the band. Be careful not to hit the gemstone or the setting too hard, as this could cause additional damage.
Realigning the Setting
If the setting of the ring has been affected by the bend, use your fingers or a pair of tweezers to carefully realign it. Take your time and make small adjustments until the setting is back in its proper position.
Polishing and Finishing
Once the band and the setting have been repaired, give the entire ring a final polish using the jeweler’s cloth. This will remove any fingerprints or smudges and restore the ring’s shine.
And there you have it – a step-by-step guide on how to fix a bent ring. With a little bit of patience and the right tools, you can restore your favorite piece of jewelry to its former glory. Remember to take your time and be gentle during the repair process to avoid causing any additional damage. Happy fixing!