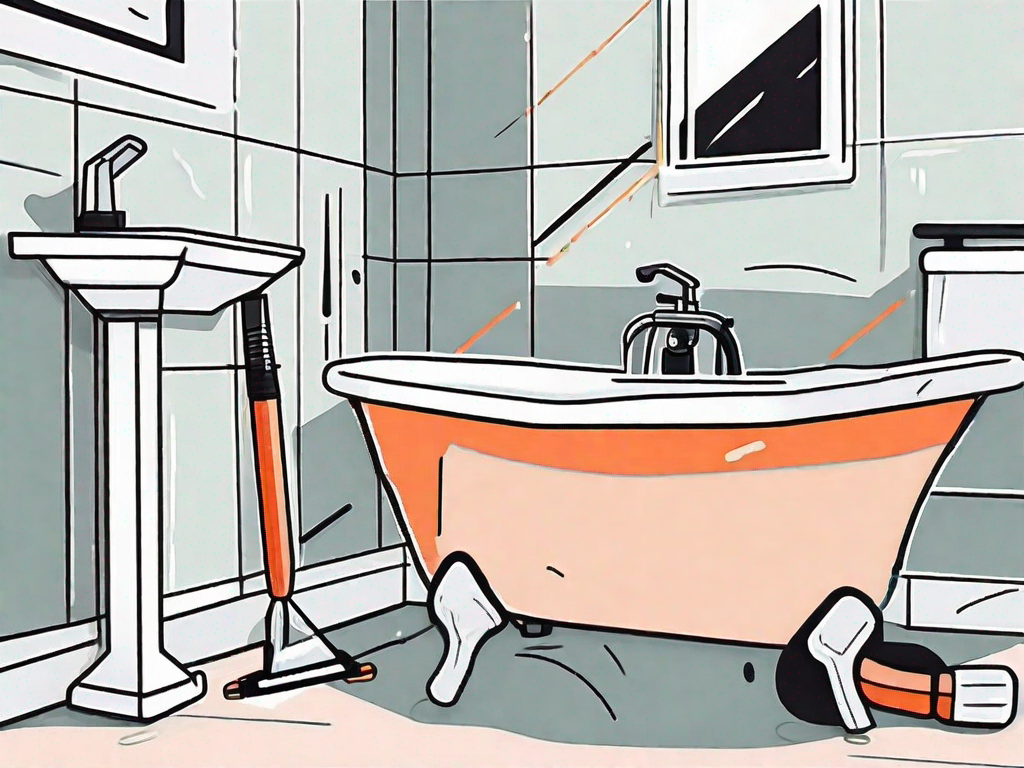
Silicone caulking is a popular choice for sealing gaps and joints in various home improvement projects. It provides excellent adhesion and flexibility, making it an ideal solution for areas that are exposed to water, such as bathrooms and kitchens. However, even the most experienced DIYers can make mistakes when applying silicone caulk, resulting in a bad caulking job that can compromise the effectiveness and aesthetics of the project.
Understanding the Basics of Silicone Caulking
Before delving into the process of fixing a bad silicone caulk job, it is crucial to understand what silicone caulking is and its significance. Silicone caulking is a type of sealant made from silicone polymer. It is renowned for its excellent durability, resistance to moisture, and flexibility, making it an ideal choice for sealing joints and gaps in wet areas.
What is Silicone Caulking?
Silicone caulking is a unique type of sealant that is mainly used to seal joints and gaps. It comes in a tube and must be applied using a caulking gun. Unlike other types of caulking, silicone caulking does not dry like paint; instead, it cures through a chemical reaction with moisture in the air, forming a waterproof and flexible seal.
When it comes to sealing joints and gaps, silicone caulking offers several advantages over other types of sealants. Its flexibility allows it to withstand movement and expansion without cracking or losing its seal. This makes it particularly useful for areas that experience frequent temperature changes or structural shifts.
Furthermore, silicone caulking is resistant to mold and mildew growth, making it an excellent choice for areas with high humidity or moisture, such as bathrooms and kitchens. Its waterproof properties ensure that it remains effective even when exposed to water, preventing leaks and water damage.
Common Mistakes in Silicone Caulking
While silicone caulking is relatively easy to work with, there are several common mistakes that homeowners make when applying it. These mistakes can lead to a bad caulking job and compromise the integrity of the seal. Some common mistakes include:
- Applying too much caulk, leading to messy and uneven lines.
- Not properly cleaning the surface before applying the caulk, resulting in poor adhesion.
- Using expired or low-quality silicone caulk that does not cure properly.
- Not allowing the caulk to dry and cure fully before exposing it to water or other elements.
Applying too much caulk is a common mistake that can result in an unsightly finish. It is important to remember that a little goes a long way with silicone caulking. Applying a thin and even bead of caulk is usually sufficient to create a proper seal. Excessive caulk can lead to messy lines and may not cure properly, affecting the overall effectiveness of the seal.
Proper surface preparation is essential for achieving a strong and long-lasting seal. Before applying silicone caulk, it is crucial to thoroughly clean the surface and remove any dirt, dust, or old caulk residue. This ensures proper adhesion and prevents the caulk from peeling or detaching over time.
Using expired or low-quality silicone caulk can have detrimental effects on the overall performance of the seal. Expired caulk may not cure properly, leading to a weak seal that is susceptible to leaks. It is important to check the expiration date and choose a reputable brand to ensure the caulk’s effectiveness.
Lastly, patience is key when working with silicone caulking. It is essential to allow the caulk to fully dry and cure before exposing it to water or other elements. Rushing this process can compromise the seal’s integrity and result in a subpar caulking job.
By avoiding these common mistakes and following proper caulking techniques, you can ensure a successful silicone caulk job that provides long-lasting protection and a visually pleasing finish.
Identifying a Bad Silicone Caulk Job
Before attempting to fix a bad silicone caulk job, it is essential to identify the signs of a poorly executed caulk job. Here are some common indicators:
When it comes to caulking, precision and attention to detail are crucial. A well-executed caulk job should have clean, even lines that are tightly sealed against the joint or gap. However, there are times when the caulk job falls short, leaving behind visible imperfections that can compromise its effectiveness.
Signs of Poor Caulking
1. Uneven or messy caulk lines that are not sealed tightly against the joint or gap.
One of the most obvious signs of a bad caulk job is the presence of uneven or messy caulk lines. Instead of a smooth, continuous bead of caulk, you may notice gaps or inconsistencies along the joint. These imperfections not only detract from the overall appearance but also create opportunities for water or moisture to seep through.
2. Caulk that has started to peel or crack, leaving gaps for water or moisture to seep through.
Over time, caulk can deteriorate, especially if it was not applied correctly in the first place. If you notice peeling or cracking caulk, it is a clear indication that the caulk job was poorly executed. These gaps in the caulk allow water or moisture to penetrate, potentially leading to water damage and mold growth.
3. Discoloration or mold growth along the caulk lines.
Another sign of a bad silicone caulk job is discoloration or mold growth along the caulk lines. When caulk is not properly applied or sealed, it can create an environment where moisture gets trapped, providing a breeding ground for mold. Discoloration can also occur if the caulk was not of high quality or if it was exposed to harsh chemicals or cleaning agents.
Potential Problems Caused by Bad Caulking
A bad silicone caulk job can lead to various problems, including:
- Water leakage, which can cause damage to the underlying structure and promote mold growth.
- Reduced energy efficiency due to air leaks.
- Aesthetically unpleasing appearance.
When caulk fails to do its job properly, it can result in significant issues. Water leakage is one of the most concerning problems caused by bad caulking. If water finds its way through gaps or cracks in the caulk, it can seep into the underlying structure, leading to rot, decay, and structural damage. Additionally, the presence of moisture provides an ideal environment for mold to thrive, posing health risks and further compromising the integrity of the structure.
Another consequence of a poorly executed caulk job is reduced energy efficiency. Gaps or cracks in the caulk allow air to escape or enter, compromising the insulation of the space. This can result in higher energy bills as the heating or cooling system works harder to maintain the desired temperature.
Lastly, a bad caulk job can have an aesthetically unpleasing appearance. Uneven or messy caulk lines can detract from the overall look of a room or surface, making it appear unprofessional or poorly maintained. Discoloration or mold growth along the caulk lines further adds to the unsightly appearance.
Therefore, it is crucial to identify and address any signs of a bad silicone caulk job promptly. By doing so, you can prevent further damage, maintain energy efficiency, and ensure a visually pleasing result.
Tools Needed for Caulk Repair
Repairing a bad silicone caulk job requires a few essential tools to ensure a successful outcome. However, it is important to note that a proper caulk repair not only fixes the problem but also enhances the overall appearance of the area.
When it comes to caulk repair, having the right tools can make all the difference. Here are some essential tools you will need:
Essential Tools for the Job
To fix a bad caulk job, you will need the following tools:
- Caulking gun: A caulking gun is a must-have tool for applying caulk precisely and evenly. It allows for better control and ensures a smooth application.
- Utility knife or caulk remover tool: Removing old caulk is an important step in the repair process. A utility knife or caulk remover tool helps in cutting and scraping away the old caulk effectively.
- Paint scraper or putty knife: A paint scraper or putty knife can be used to remove any loose or peeling caulk, preparing the surface for a fresh application.
- Sanding sponge or sandpaper: After removing the old caulk, sanding the surface helps in creating a smooth and even base for the new caulk. A sanding sponge or sandpaper can be used for this purpose.
- Sealant smoothing tool or a damp cloth: Once the new caulk is applied, a sealant smoothing tool or a damp cloth can be used to create a professional-looking finish. It helps in smoothing out any uneven areas and ensures a clean appearance.
Choosing the Right Silicone Caulk
When selecting a silicone caulk for your repair project, it is crucial to choose a high-quality product that matches the specific requirements of the job. The right caulk not only ensures a long-lasting seal but also enhances the overall durability of the area.
Here are a few factors to consider when choosing the right silicone caulk:
- Intended area: Different areas require different types of caulk. For example, a bathroom caulk should be resistant to moisture and mold, while a kitchen caulk should be able to withstand high temperatures and frequent cleaning.
- Color: Silicone caulk comes in a variety of colors. It is important to choose a caulk color that matches the existing seal or complements the surrounding area.
- Flexibility: Look for a caulk that offers flexibility to accommodate any movement or expansion in the area. This ensures that the caulk maintains its seal over time.
- Drying time: Consider the drying time of the caulk. Some caulk products dry quickly, allowing for faster completion of the repair project.
By carefully selecting the right silicone caulk and using the essential tools mentioned above, you can achieve a professional-looking caulk repair that not only fixes the problem but also adds value to your space.
Preparing for the Repair
Before starting the repair, it is essential to take certain safety precautions and prepare the work area.
Safety Precautions to Take
When working with silicone caulk, it is important to protect yourself and ensure proper ventilation. Remember to:
- Wear gloves to protect your hands from direct contact with the caulk and any potential chemicals.
- Work in a well-ventilated area to avoid inhaling caulk fumes.
Preparing the Work Area
To ensure a successful caulk repair, you must properly prepare the work area. Follow these steps:
- Remove any loose or damaged caulk using a utility knife or caulk remover tool.
- Use a paint scraper or putty knife to scrape away any residual caulk or debris.
- Smooth the surface with a sanding sponge or sandpaper to create a clean and even base.
Step-by-Step Guide to Fixing a Bad Caulk Job
Now that you are well-prepared, it’s time to fix that bad silicone caulk job. Follow these step-by-step instructions:
Removing the Old Caulk
1. Use a utility knife or caulk remover tool to cut along both edges of the old caulk line.
2. Gently pry and lift the old caulk using a paint scraper or putty knife.
3. Remove any residual caulk or debris from the joint or gap.
Applying the New Caulk
1. Load a tube of high-quality silicone caulk into a caulking gun.
2. Cut the tip of the caulk tube at a 45-degree angle, ensuring the opening is slightly larger than the desired caulk line width.
3. Press the caulk gun trigger and slowly apply an even and steady bead of caulk into the joint or gap.
4. Use a sealant smoothing tool or a damp cloth to smooth the caulk line and remove any excess caulk.
Finishing Touches for a Professional Look
1. Allow the caulk to dry and cure fully, following the manufacturer’s instructions.
2. Inspect the caulk line for any imperfections and touch up as needed.
3. Clean up any leftover caulk using a damp cloth or mild cleaning solution.
By following these steps, you can fix a bad silicone caulk job and restore the functionality and aesthetics of your project. Remember, attention to detail and patience are key to achieving professional results. With a little practice, you’ll become a silicone caulking expert in no time!