Grout is an essential component of any tiled surface. It not only holds the tiles together but also helps to prevent moisture and dirt from seeping through the cracks. However, not all grout jobs are created equal, and a poorly done grout job can not only ruin the appearance of your tiles but also cause potential damage in the long run. In this step-by-step guide, we will explore the basics of grout, how to identify a bad grout job, gather the necessary tools, and prepare for the grout repair process.
Understanding the Basics of Grout
Before delving into the world of grout repair, it is important to understand what grout actually is. Grout is a paste-like substance that is typically made from a mixture of water, cement, and sand. It is used to fill the gaps between tiles, creating a solid and unified surface. Grout comes in a variety of colors, allowing you to match it with your tiles or create contrasting effects.
What is Grout?
Grout, as mentioned earlier, is a mixture of water, cement, and sand. These ingredients are combined to create a thick paste that is spread between tiles to fill the gaps and hold them in place. Grout is available in two main types: sanded and unsanded. Sanded grout is recommended for wider gaps, while unsanded grout is suitable for narrower gaps.
When it comes to selecting the right type of grout for your project, it is important to consider the size of the gaps between your tiles. Using the wrong type of grout can lead to issues such as cracking or improper adhesion. Sanded grout, with its added sand particles, provides better strength and stability for wider gaps, while unsanded grout, which is smoother in texture, is ideal for smaller gaps.
In addition to the type of grout, you also have the option to choose from a wide range of colors. This allows you to customize the appearance of your tiled surface, whether you want the grout to blend in seamlessly with the tiles or create a striking contrast. From neutral shades to bold and vibrant hues, the color of grout can significantly impact the overall aesthetic of your space.
Common Grout Problems
While grout is designed to be durable and long-lasting, it is not immune to issues. Common grout problems include cracking, chipping, discoloration, and crumbling. These problems can occur due to various factors such as improper installation, excessive moisture, or lack of maintenance. Identifying these issues is the first step towards fixing a bad grout job.
Cracking is one of the most common grout problems that homeowners encounter. It can happen due to a variety of reasons, including the natural movement of the building, improper mixing of the grout, or insufficient curing time. When cracks appear in the grout, it not only compromises the appearance of the tiled surface but also allows moisture to seep in, potentially causing further damage.
Chipping is another issue that can occur with grout. This often happens when the grout is not properly applied or when excessive force is applied to the tiled surface. Over time, the edges of the grout can chip away, leaving gaps and exposing the edges of the tiles. This not only affects the overall integrity of the tiled surface but also creates an unattractive and uneven appearance.
Discoloration is a common problem that can make even the most pristine tiles look dull and dirty. Grout can become discolored due to various factors, such as exposure to dirt, grime, and cleaning products. Additionally, certain types of grout, especially those with lighter shades, are more prone to staining. Regular cleaning and maintenance can help prevent discoloration and keep your grout looking fresh and clean.
Crumbling is a more severe grout problem that requires immediate attention. It typically occurs when the grout starts to deteriorate and break down, leaving behind loose particles. This can happen due to factors such as excessive moisture, improper installation, or the use of low-quality grout. Crumbling grout not only compromises the structural integrity of the tiled surface but also creates an unsightly and unhygienic environment.
Understanding these common grout problems can help you identify and address issues before they worsen. Regular inspection, maintenance, and timely repairs are essential for ensuring the longevity and beauty of your tiled surfaces.
Identifying a Bad Grout Job
Before you can start repairing a bad grout job, you need to identify whether your grout is, in fact, in need of repair. There are several signs that indicate a poorly done grout job, and being aware of these signs can help you determine the necessary steps to rectify the situation.
Signs of Poorly Done Grout
One of the most apparent signs of a bad grout job is visible cracks or gaps between the tiles. These cracks not only affect the appearance of your tiled surface but can also compromise its structural integrity. When grout is improperly applied, it can shrink or crack over time, leaving unsightly openings that allow dirt and moisture to accumulate.
Another sign to look out for is discolored or stained grout. If your grout has turned yellow or brown over time, it may be an indication of mold or mildew growth. Mold and mildew thrive in damp environments, and if your grout was not properly sealed or if moisture has seeped through the cracks, it can create the perfect breeding ground for these unsightly and potentially harmful substances.
In addition to cracks and discoloration, another sign of a poorly done grout job is uneven grout lines. When grout is applied unevenly, it can create an unprofessional and sloppy appearance. Uneven grout lines can also make it more challenging to clean and maintain the tiled surface, as dirt and grime can get trapped in the uneven crevices.
Potential Damage from Bad Grout
While the aesthetic impact of a bad grout job is undeniable, the potential damage it can cause goes beyond the surface level. Poorly done grout can lead to water seepage, which can eventually damage the underlying structure. Moisture can penetrate through the cracks and reach the adhesive or subfloor, causing it to weaken or deteriorate.
In areas where water exposure is frequent, such as bathrooms or kitchens, the risk of damage from bad grout is even higher. Water can seep into the walls or floors, leading to mold growth, rotting wood, or even structural instability. Ignoring a bad grout job can result in costly repairs and renovations down the line.
Furthermore, if the grout lines are not properly sealed, they can become a breeding ground for bacteria and other microorganisms. This can pose a health risk, especially in areas where hygiene is crucial, such as commercial kitchens or healthcare facilities.
It is essential to address a bad grout job promptly to avoid further damage. By identifying the signs of a poorly done grout job and taking the necessary steps to repair or replace it, you can ensure the longevity and beauty of your tiled surfaces while preventing potential structural issues and health hazards.
Gathering the Necessary Tools
Now that you have identified a bad grout job, it’s time to gather the necessary tools for the repair process. Having the right tools at hand ensures that you can tackle the job efficiently and effectively.
Essential Tools for Grout Repair
Here are some of the tools you will need for repairing your grout:
- Grout saw or grout removal tool
- Grout float
- Grout mix
- Grout sponge
- Bucket
- Protective gloves
- Eye protection
Now, let’s delve into the details of each tool and understand their importance in the grout repair process.
A grout saw or grout removal tool is a vital tool for removing the old, damaged grout. It allows you to carefully and precisely remove the grout without damaging the surrounding tiles. The grout saw’s sharp blades make it easier to reach into narrow spaces and remove the grout effectively.
Next, we have the grout float. This tool is used to apply the new grout mixture into the gaps between the tiles. The grout float’s rubber base helps spread the grout evenly and ensures proper adhesion to the tile surface. It also helps in smoothing out the grout lines, giving your tiled surface a polished and professional finish.
When it comes to grout repair, having the right grout mix is crucial. The grout mix is a specialized material that consists of cement, sand, and additives. It is available in various colors to match your existing grout. The grout mix not only fills in the gaps but also provides strength and stability to the tiled surface.
After applying the grout mix, a grout sponge is used to clean the excess grout from the tile surface. The sponge’s porous texture helps in removing the grout without scratching or damaging the tiles. It is important to keep the sponge damp and clean throughout the process to achieve a neat and professional-looking grout job.
A bucket is an essential tool for mixing the grout. It provides a convenient and controlled space for combining the grout mix with water. Make sure to follow the manufacturer’s instructions regarding the water-to-grout mix ratio for the best results.
Protective gloves are a must-have when working with grout. They shield your hands from potential skin irritation caused by the grout mix or any harsh chemicals that may be present. Additionally, gloves offer protection against cuts or abrasions when handling the grout saw or other sharp tools.
Lastly, eye protection is crucial to safeguard your eyes from any debris or particles that may be released during the grout removal or application process. It is recommended to wear safety goggles or glasses that provide full coverage and have impact-resistant lenses.
Safety Equipment for Grout Work
When working with grout, it is important to prioritize safety. Ensure you have the following safety equipment:
- Dust mask
- Knee pads
- Work gloves
A dust mask is essential to protect your respiratory system from inhaling any fine particles or dust that may be generated while removing the old grout or mixing the new grout. It is important to choose a mask that provides a proper seal and filters out small particles effectively.
Knee pads are highly recommended, especially if you will be working on a large area or for an extended period. They provide cushioning and support to your knees, reducing strain and discomfort. Knee pads also protect your knees from potential injuries caused by kneeling on hard surfaces.
Lastly, work gloves offer an extra layer of protection for your hands, shielding them from potential cuts, abrasions, or chemical exposure. Choose gloves that are specifically designed for construction or DIY projects, ensuring they provide adequate grip and dexterity.
By gathering the necessary tools and safety equipment, you are well-prepared to tackle your grout repair project with confidence and ensure a successful outcome.
Preparing for the Grout Repair
Before diving into the grout repair process, it is essential to prepare the grout area properly. This involves cleaning the surface and removing any old or damaged grout.
Cleaning the Grout Area
Start by thoroughly cleaning the tiled surface using a mild detergent and warm water. This will help remove any dirt, grime, or mold that may have accumulated over time. Use a scrub brush or a toothbrush to reach into the gaps and crevices, ensuring a clean surface for the grout repair.
Removing Old or Damaged Grout
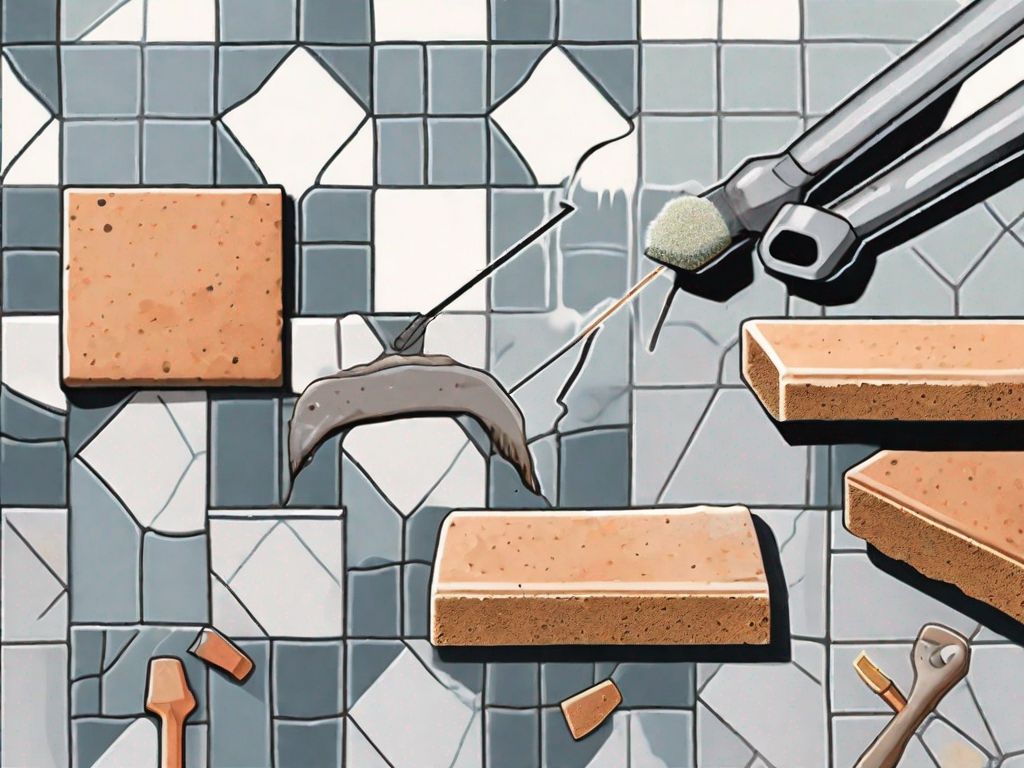
Next, use a grout saw or a grout removal tool to carefully remove the old or damaged grout from between the tiles. Work slowly and gently to avoid damaging the tiles. Be sure to remove all loose or crumbling grout, creating a clean and even surface for the new grout to adhere to.
The Step-by-Step Grout Repair Process
Now that you have prepared the grout area, it’s time to tackle the actual grout repair process. Follow these step-by-step instructions to achieve a professional-looking result.
Applying the New Grout
Start by mixing the grout according to the manufacturer’s instructions. The grout should have a consistency similar to toothpaste. Using a grout float, apply the new grout to the gaps between the tiles. Hold the float at a 45-degree angle and press the grout firmly into the gaps, ensuring full coverage. Remove any excess grout from the tile surface using the float’s edge.
Finishing and Sealing the Grout
After applying the new grout, wait for approximately 15-30 minutes to allow it to set slightly. Then, using a grout sponge dampened with clean water, gently wipe away any excess grout from the tile surface. Rinse the sponge frequently to avoid smearing excess grout on the tiles. Once the grout has dried completely, typically after 24-48 hours, apply a grout sealer to protect the grout from future staining or damage.
By following these step-by-step instructions, you can fix a bad grout job and restore the beauty and functionality of your tiled surfaces. Remember to take your time, stay focused, and wear the necessary safety equipment throughout the repair process. With a little effort and the right tools, your bad grout job will be a thing of the past.
Leave a Reply