Caulking is an essential process in maintaining the integrity and aesthetics of your home. When done correctly, it seals gaps and prevents water damage. However, a bad caulking job can lead to unsightly gaps, water leakage, and potential damages. In this step-by-step guide, we will explore the basics of caulking, identify signs of a bad caulking job, and provide you with the knowledge to fix it effectively.
Understanding the Basics of Caulking
Caulking is an essential process in home maintenance and construction. It involves sealing gaps or joints between surfaces using a waterproof material called caulk. By filling in these gaps, caulk prevents moisture penetration, which can lead to damage and deterioration.
When it comes to caulking, there are various applications where it is commonly used. In bathrooms, caulk is used to seal the gaps between the bathtub or shower and the surrounding tiles or walls. This prevents water from seeping into the gaps and causing water damage. In kitchens, caulk is often used to seal the joints between countertops and backsplashes, preventing food particles and liquids from getting trapped and causing unsightly stains or mold growth.
Windows and doors are also areas where caulking is crucial. By sealing the gaps around window frames and door jambs, caulk helps to keep drafts out and maintain energy efficiency in the home. It also prevents water from entering and causing damage to the interior of the walls.
Common Caulking Mistakes
While caulking may seem like a simple task, there are common mistakes that can lead to subpar results. One of the most common mistakes is using the wrong type of caulk for the specific application. There are different types of caulk available, such as silicone, acrylic, and latex, each with its own properties and suitable uses. Using the wrong type of caulk can result in poor adhesion, flexibility, and durability.
Another mistake often made is not preparing the surface adequately before applying caulk. Proper surface preparation is crucial for achieving a long-lasting and effective caulking job. This includes cleaning the surface thoroughly to remove dirt, dust, and any old caulk residue. It may also involve using a primer or a caulk remover to ensure proper adhesion.
In addition to these common mistakes, improper application techniques can also affect the quality of the caulking job. Applying caulk too thickly can lead to unsightly bulges and uneven surfaces, while applying it too thinly may result in inadequate sealing. It is important to apply caulk in a smooth and consistent manner, using a caulk gun or a caulking tool for precision.
Furthermore, it is essential to consider the environmental conditions when caulking. Extreme temperatures or high humidity can affect the drying and curing process of caulk, potentially compromising its effectiveness. It is best to choose a caulk that is suitable for the specific climate and follow the manufacturer’s instructions regarding temperature and humidity requirements.
By understanding the basics of caulking and being aware of common mistakes, you can ensure that your caulking projects are successful and provide long-lasting protection for your home. Whether you are sealing gaps in your bathroom, kitchen, windows, or doors, proper caulking techniques will help maintain the integrity of your home and prevent costly repairs in the future.
Identifying a Bad Caulking Job
Caulking is an essential part of maintaining the integrity and longevity of your home. It helps seal gaps and joints, preventing water damage, air leaks, and even pest infestations. However, not all caulking jobs are created equal. It’s crucial to identify signs of a bad caulking job before attempting to fix it. By doing so, you can address any issues promptly and ensure the effectiveness of your caulking.
Signs of Poor Caulking
When inspecting your caulking, there are several signs you should look out for:
- Visible gaps in the caulk line: A properly done caulking job should have a smooth and continuous line. If you notice gaps or breaks in the caulk, it indicates that the seal has been compromised.
- Cracks: Over time, caulk can shrink or become brittle, leading to cracks. These cracks allow water, air, and pests to penetrate the joint, rendering the caulking ineffective.
- Peeling: If the caulk is peeling away from the surface, it’s a clear sign that it has lost its adhesion. This can occur due to poor application or exposure to harsh weather conditions.
- Mold growth: Moisture trapped in gaps or cracks can create an ideal environment for mold to thrive. If you notice mold growth around the caulked area, it indicates that water is penetrating the joint.
Potential Damages from Bad Caulking
Ignoring a bad caulking job can lead to significant damages over time. Here are some potential consequences:
- Water damage: Gaps or cracks in the caulking allow water to seep through, leading to moisture buildup. This can result in water damage to the surrounding materials, such as drywall, wood, or insulation.
- Mold growth: Excess moisture from a bad caulking job can create an environment conducive to mold growth. Mold not only damages the aesthetics of your home but also poses health risks to you and your family.
- Structural damage: If water continues to penetrate through gaps or cracks in the caulking, it can cause structural damage to your home. Over time, this can weaken the foundation, walls, or other structural elements.
- Inefficient energy usage: Poorly sealed windows or doors due to bad caulking can result in drafts. These drafts allow conditioned air to escape and outdoor air to enter, leading to increased energy consumption and higher utility bills.
It’s important to address any signs of a bad caulking job promptly. By doing so, you can prevent further damage, improve energy efficiency, and maintain a healthy living environment in your home.
Preparing for the Caulking Fix
When it comes to fixing caulking, preparation is key. Before you start the repair process, it’s important to gather the right tools and consider safety measures.
Gathering the Right Tools
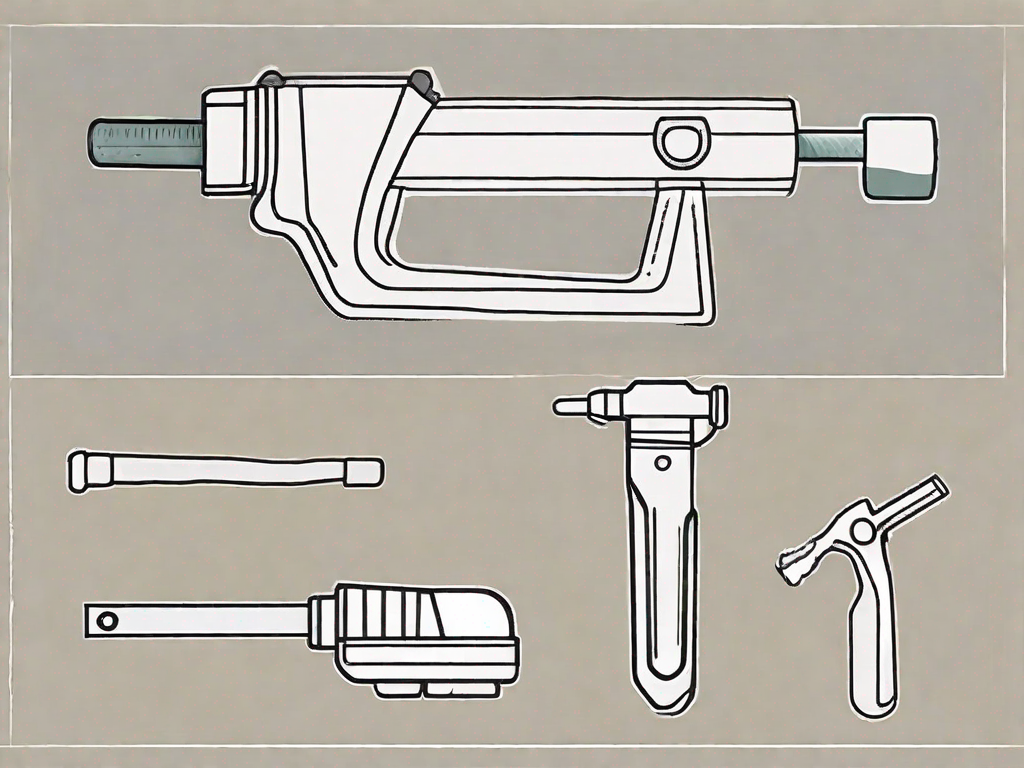
Before you begin fixing the caulking, it’s essential to have the necessary tools on hand. These tools include:
- A caulk gun: This tool will allow you to apply the new caulking smoothly and evenly.
- A caulk remover tool: If there is old caulking that needs to be removed, this tool will come in handy.
- A putty knife: This tool can be used to scrape off any excess caulking or to remove old caulking.
- A utility knife: A utility knife is useful for cutting the tip of the caulk tube and creating a clean, precise opening.
- Sandpaper: Sandpaper can be used to smooth out any rough edges or surfaces before applying the new caulking.
- Cleaning solution: Before applying new caulking, it’s important to clean the area thoroughly. A cleaning solution can help remove any dirt, grime, or old caulking residue.
- A clean cloth: Having a clean cloth on hand will allow you to wipe away any excess caulking or cleaning solution.
By ensuring you have these tools readily available, you’ll be able to tackle the caulking fix more efficiently and effectively.
Safety Measures to Consider
While fixing a bad caulking job may seem like a simple task, it’s crucial to prioritize safety throughout the process. Here are some safety measures to consider:
- Protective gloves: Wearing protective gloves will safeguard your hands from any potential injuries or irritations caused by the caulk or cleaning solution.
- Safety goggles: It’s important to protect your eyes from any splashes or accidental contact with caulk or cleaning solution. Safety goggles will provide the necessary eye protection.
- Well-ventilated work area: Adequate ventilation is essential when working with caulk, as it can emit fumes. Make sure the area where you’re working is well-ventilated to minimize your exposure to these fumes.
By taking these safety measures into account, you’ll create a safer working environment for yourself while fixing the caulking.
Removing the Old Caulk
When it comes to fixing caulk, one of the most important steps is removing the old caulk properly. This ensures that the new caulk adheres well and provides a long-lasting seal. There are several techniques you can use for effective caulk removal.
Using a Caulk Remover Tool
A caulk remover tool is specifically designed to make the caulk removal process easier. It usually has a sharp edge that allows you to cut along the edges of the old caulk. This helps loosen the caulk and make it easier to remove. When using a caulk remover tool, be sure to apply gentle pressure to avoid damaging the surface beneath.
Using a Utility Knife
If you don’t have a caulk remover tool, a utility knife can also be used to remove the old caulk. Carefully cut along the edges of the caulk, making sure not to cut too deep into the surface. This will help loosen the caulk and make it easier to scrape off.
Once you have cut along the edges, you can use a putty knife to scrape off the remaining caulk residue. Be sure to use gentle and controlled movements to avoid damaging the surface. If the caulk is stubborn and difficult to remove, you can try using a caulk softener or a heat gun to soften it before scraping.
Cleaning and Prepping the Surface
After successfully removing the old caulk, it’s important to thoroughly clean and prep the surface before applying the new caulk. This ensures that the new caulk adheres well and provides a strong seal.
Start by using a cleaning solution suitable for the specific material of the surface. For example, if you’re working on a bathroom tile, you can use a mildew remover or a mixture of vinegar and water. Apply the cleaning solution and use a clean cloth to wipe away any dirt, grease, or debris. This will ensure that the surface is clean and free from any substances that could interfere with the caulk’s adhesion.
Once the surface is clean, it’s a good idea to lightly sand the area. This helps create a smooth and adhesive surface for the new caulk. Use a fine-grit sandpaper and gently sand the area in circular motions. Be careful not to sand too aggressively, as this can damage the surface. After sanding, use a clean cloth to remove any dust or debris.
By following these techniques for effective caulk removal and properly cleaning and prepping the surface, you’ll be well on your way to a successful caulk repair job.
Applying the New Caulk
Choosing the Right Caulk
Choosing the right caulk is essential for a long-lasting and effective sealing job. Consider the specific area you are caulking and select a caulk type that suits the material and purpose. For example, silicone-based caulk is ideal for areas exposed to moisture.
Techniques for Smooth Caulk Application
With the surface prepared and the appropriate caulk selected, it’s time to apply the new caulk. Load the caulk tube into the caulk gun and cut the nozzle at a 45-degree angle. Apply steady pressure on the trigger and move in a smooth, even motion along the joint. Use a wet finger or a caulk tool to smooth the caulk line for a professional finish.
Fixing a bad caulking job is a necessary task that can save you from potential damages and costly repairs in the long run. By understanding the basics of caulking, identifying signs of a bad caulking job, and following the step-by-step guide outlined above, you can confidently tackle the task and restore the seal and beauty of your home.